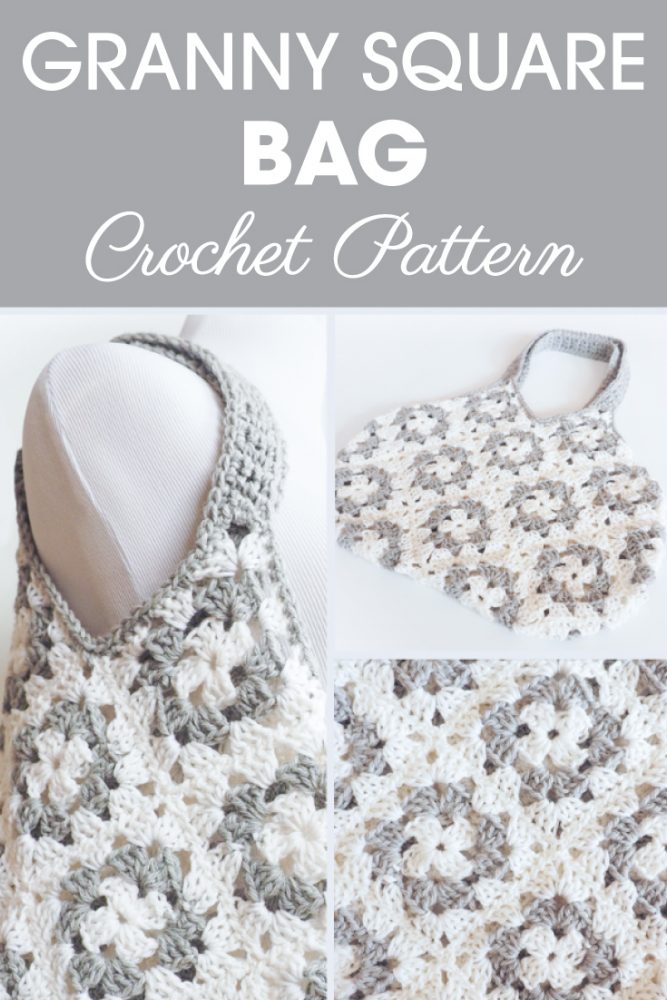
This bag is the cutest granny square pattern I ever did see! I mean really who knew granny squares could be so stylish. Scroll down for the complete free pattern or get the ad-free, printable PDF here.
This season we’re on the move, and we’re betting you are too. If you need a new on-the-go bag, we’ve got the perfect crochet tote bag for you.
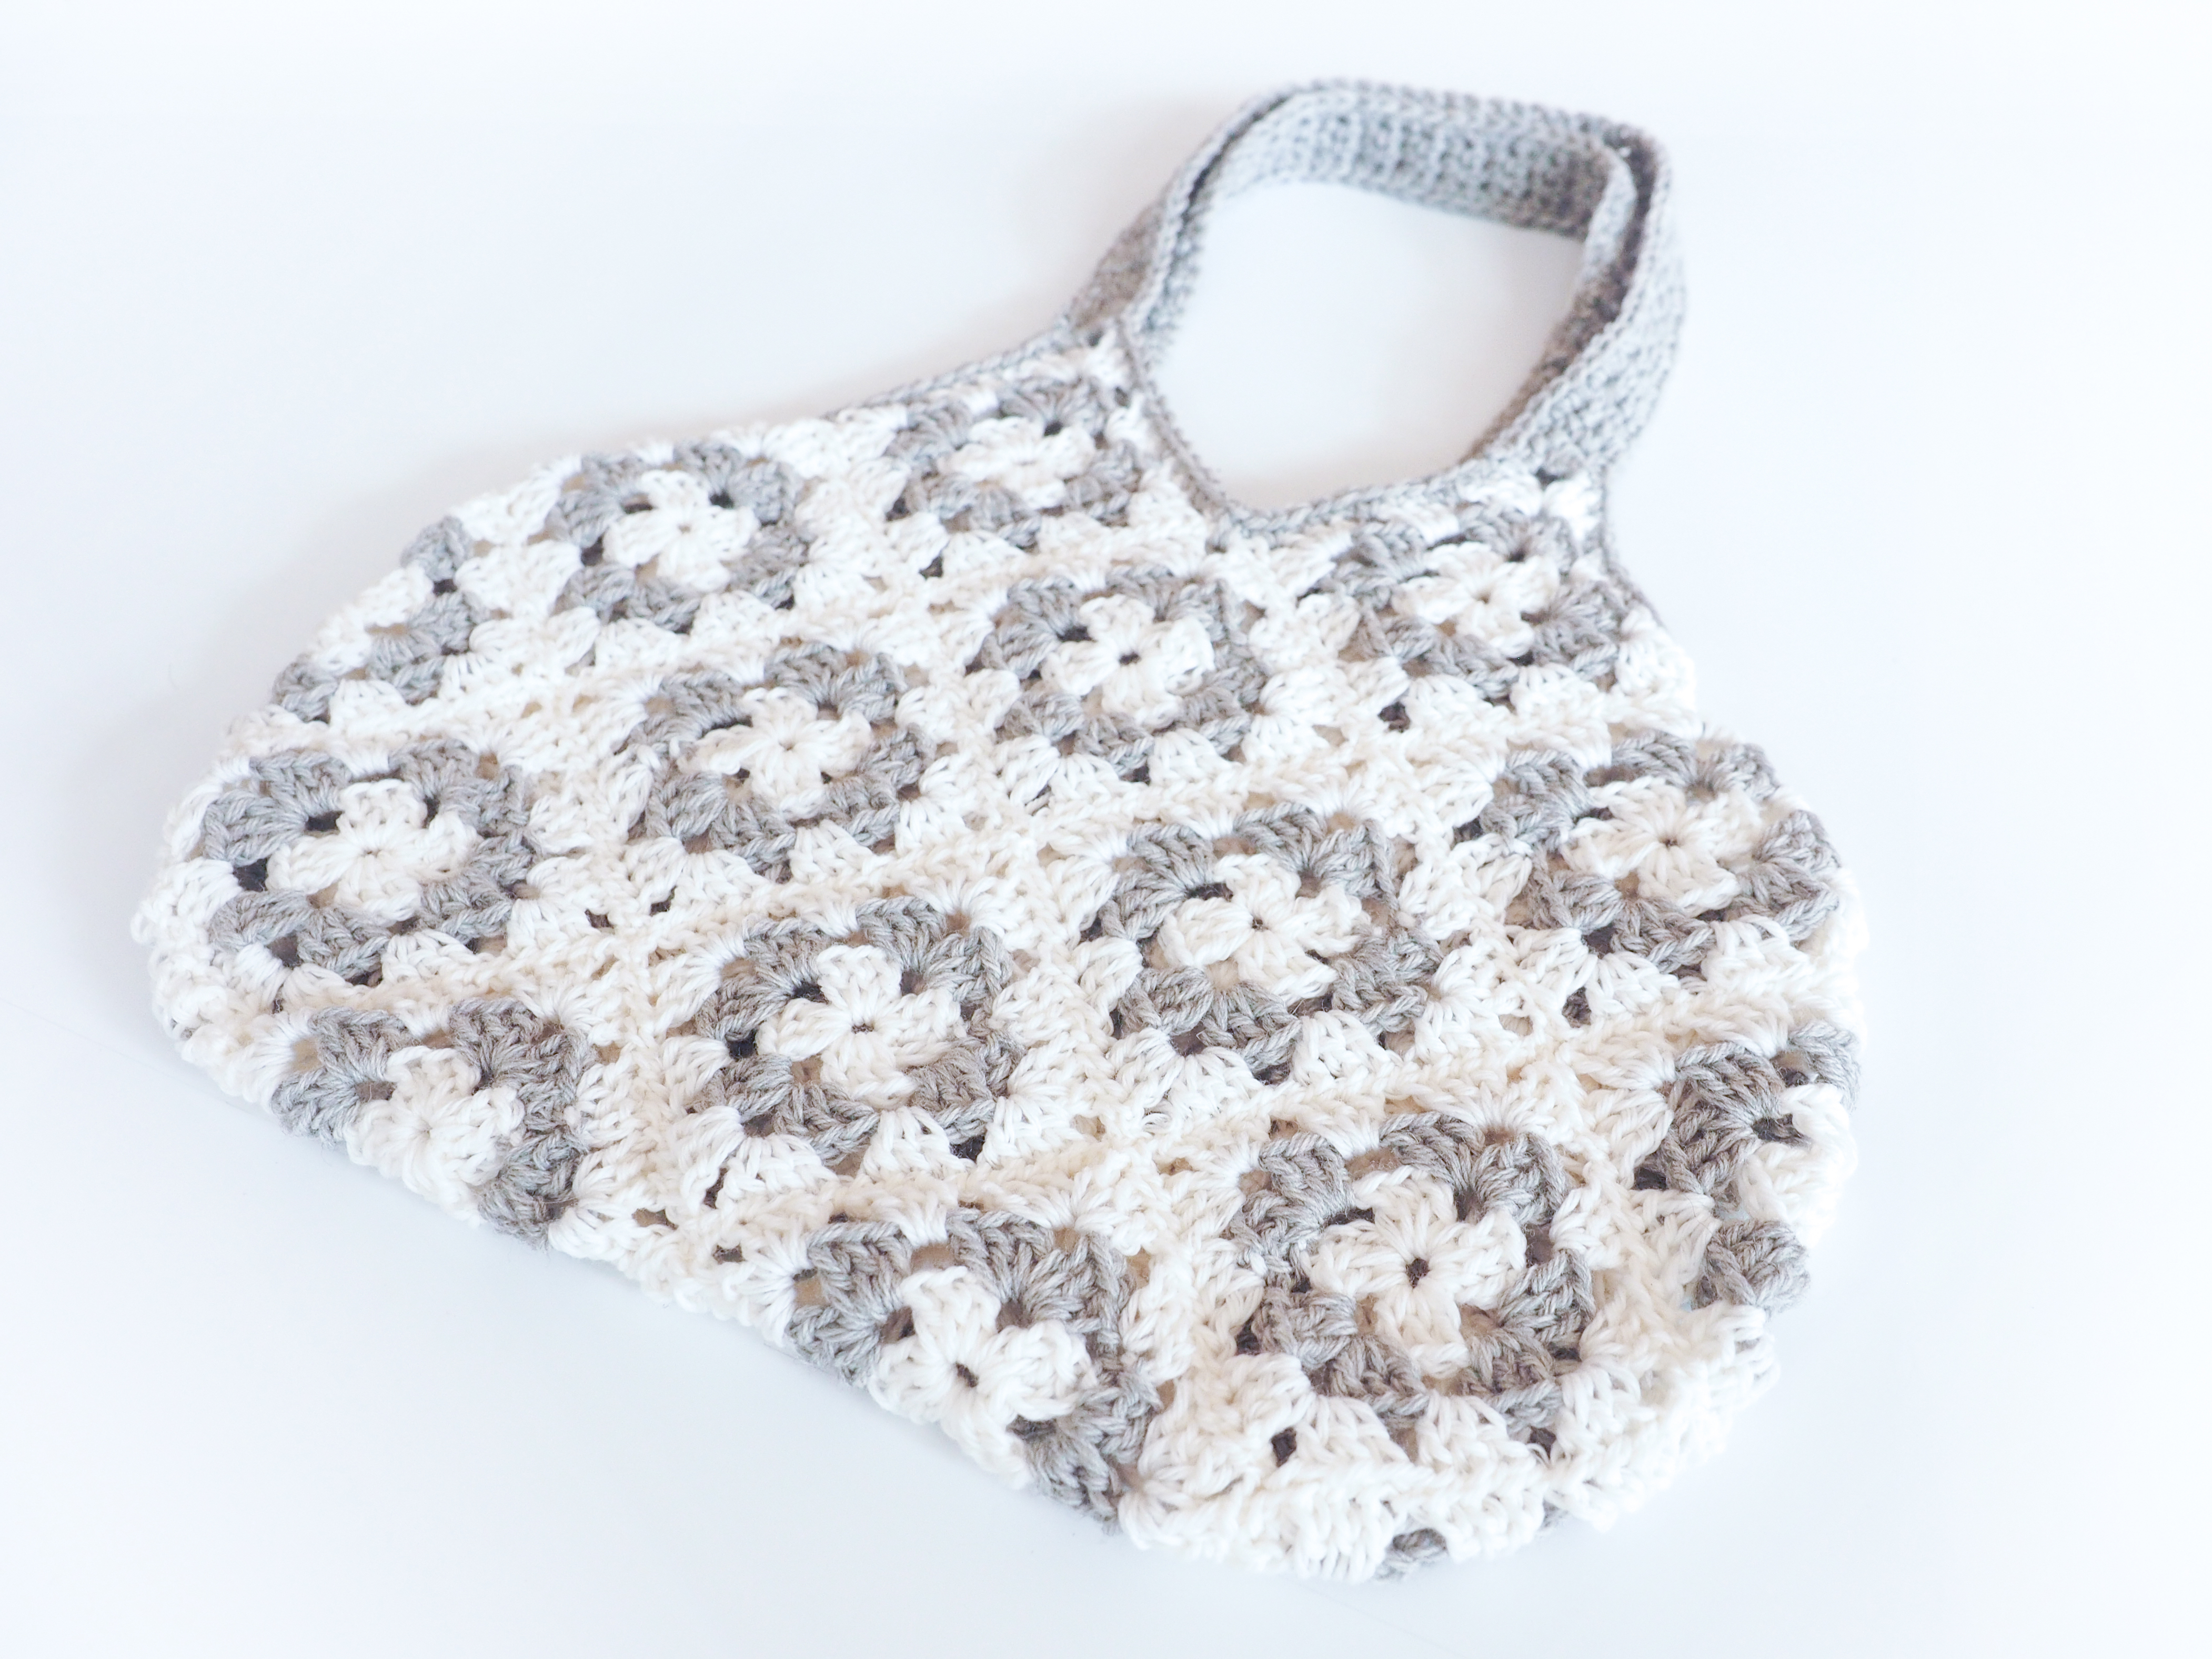
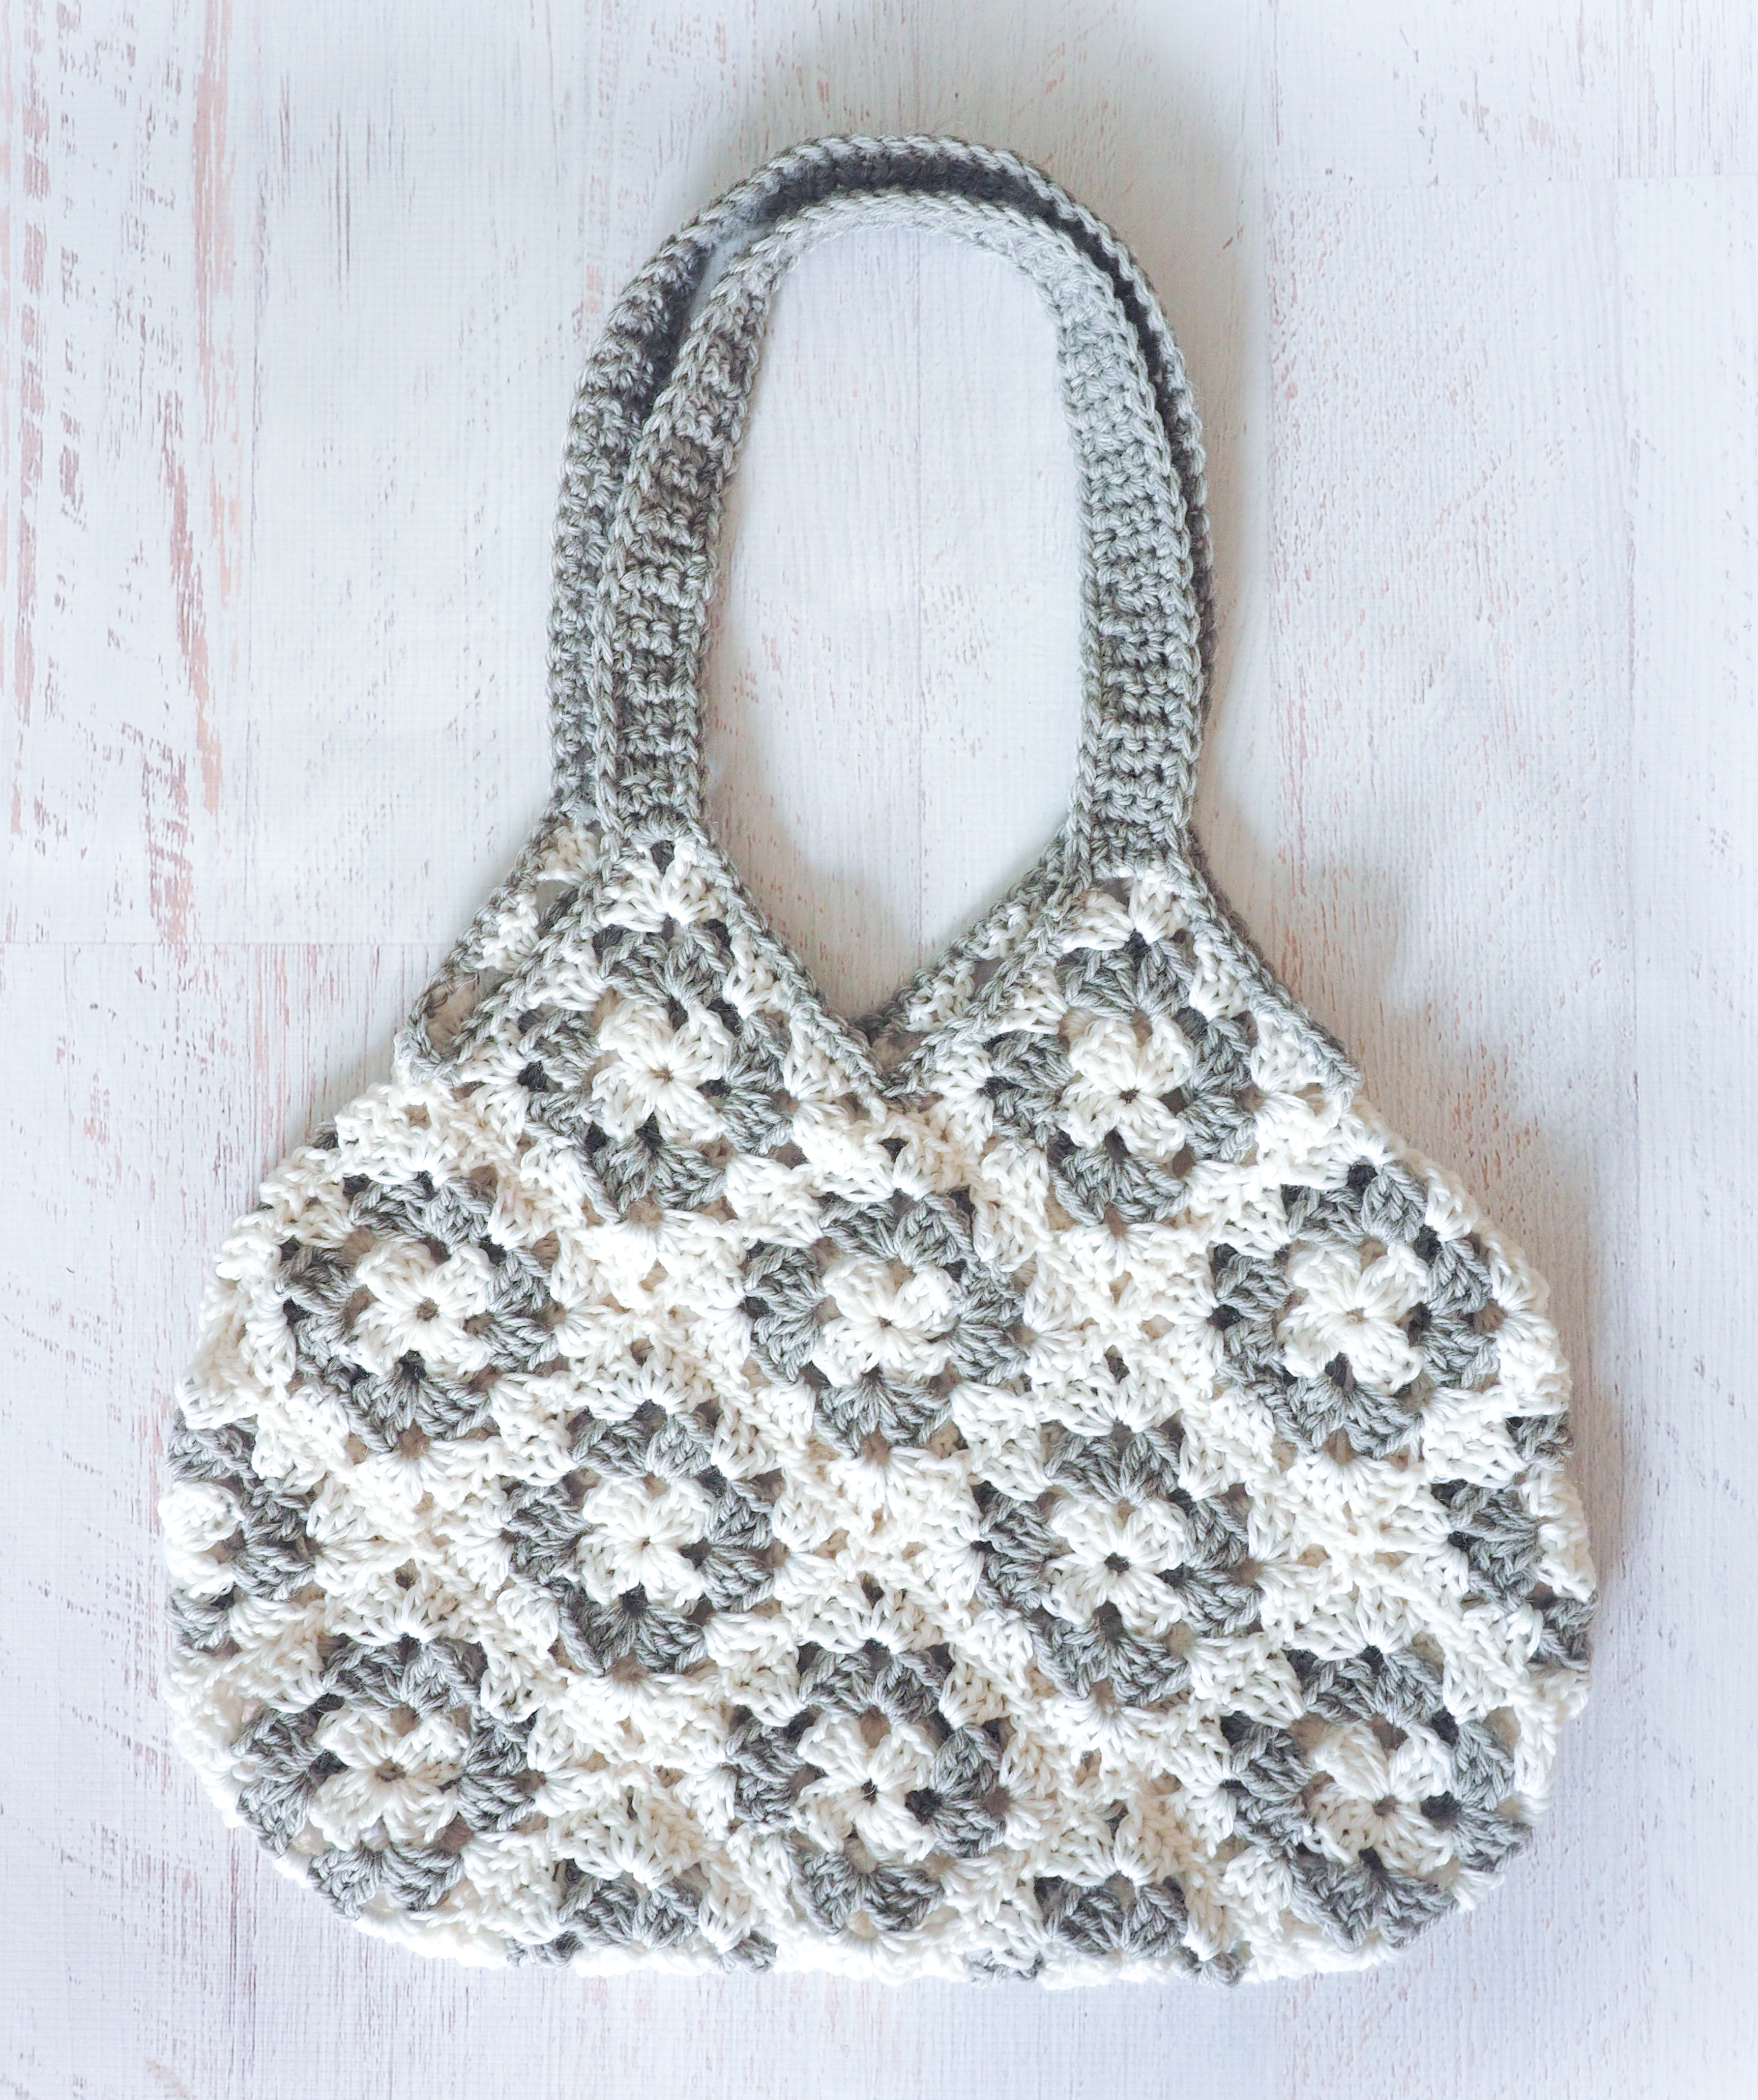
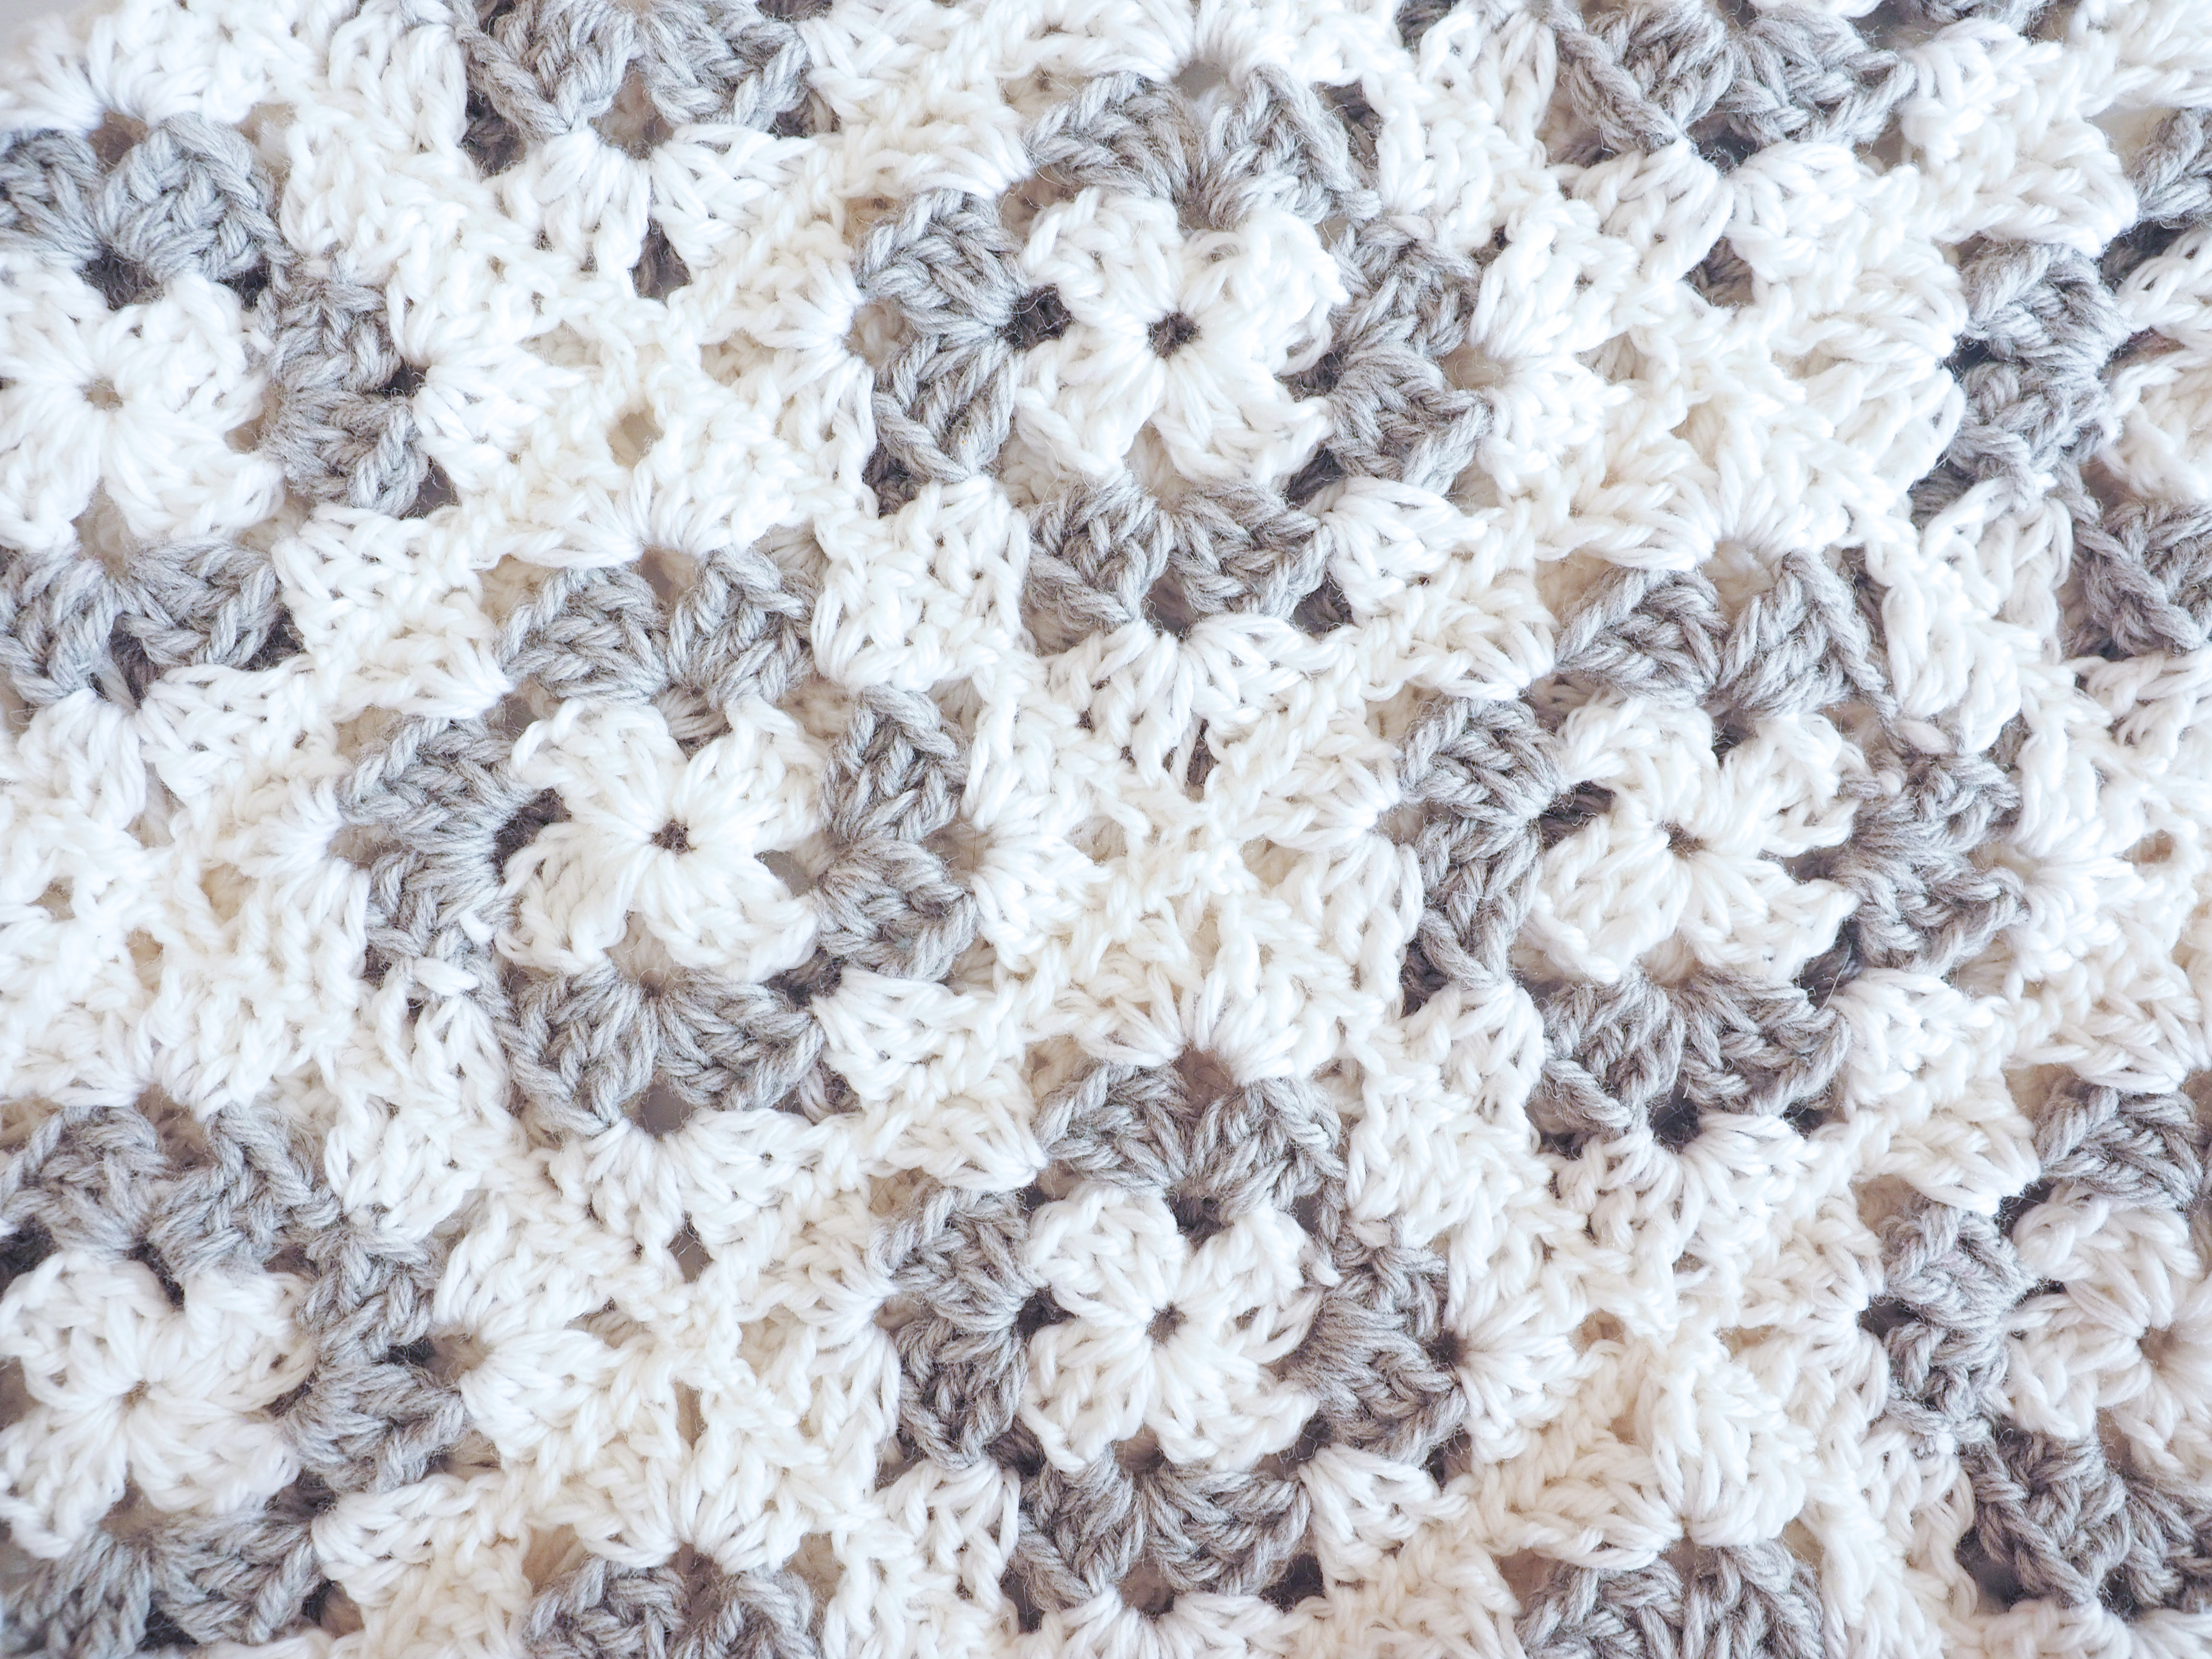
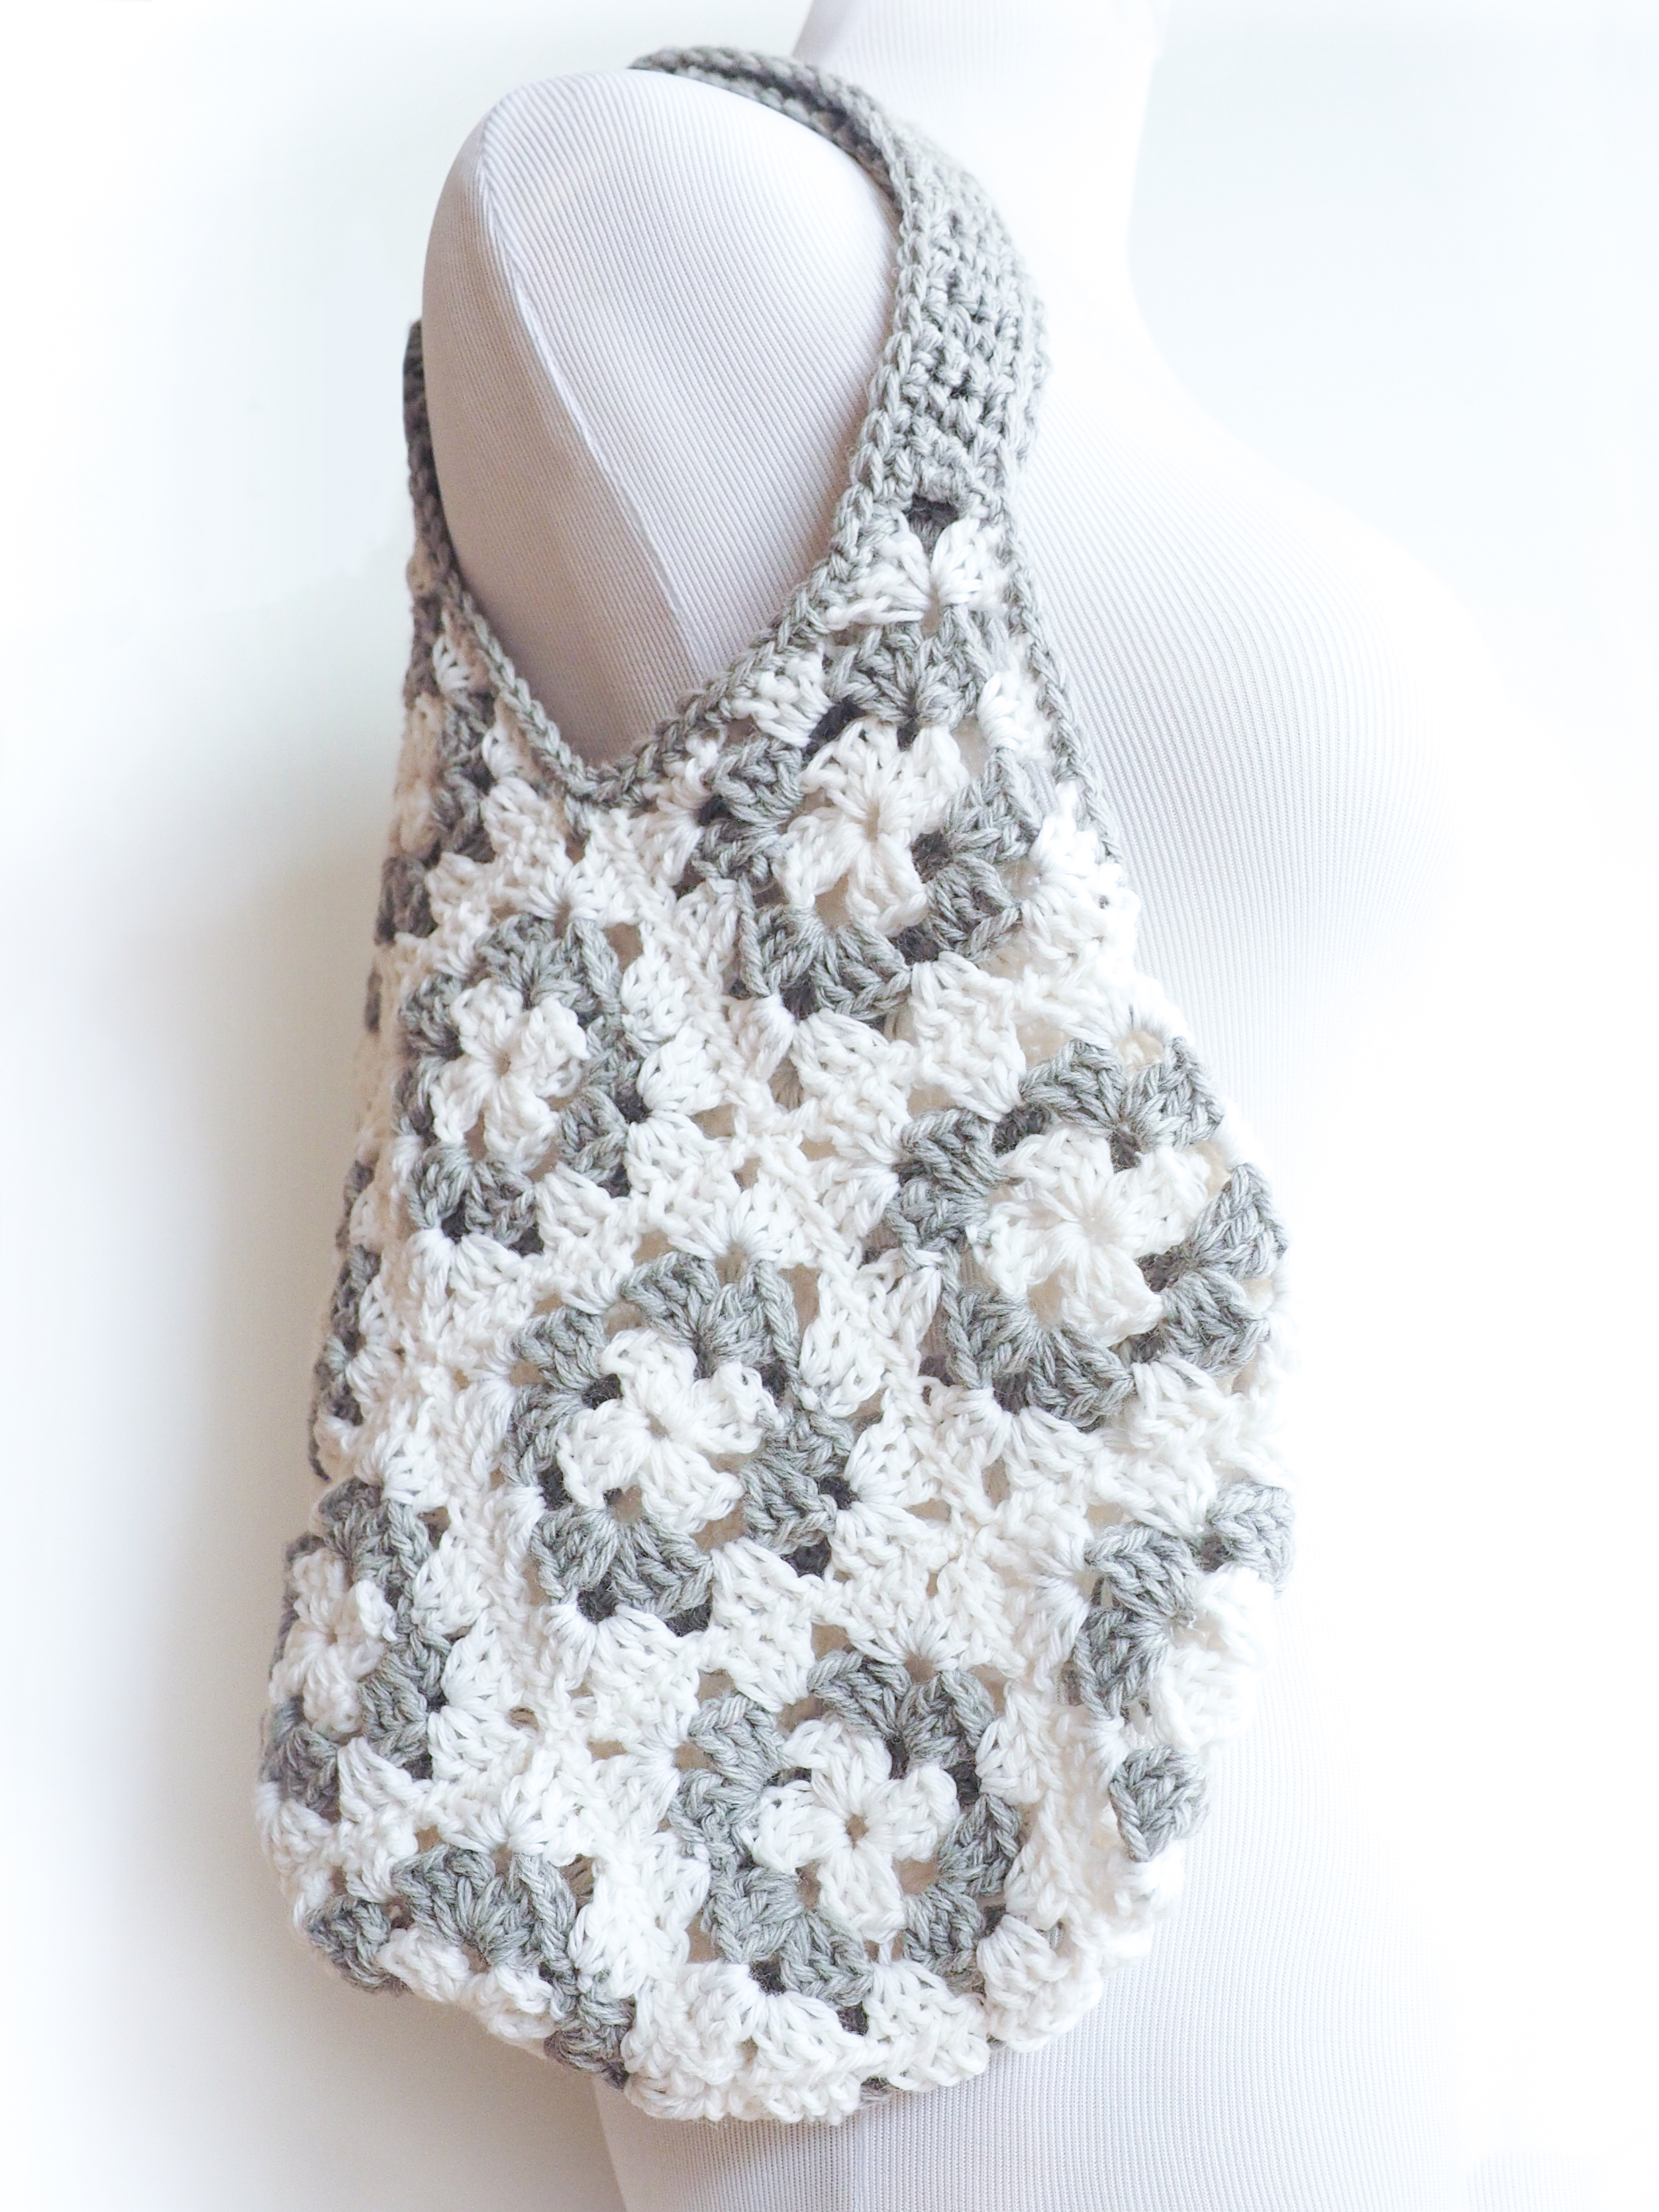
The Granny Square Bag is a stylish bag with a vintage flair. This yarn bag is made with multiple granny squares, and a minimalist handle made using the single crochet stitch.
It’s the perfect size for rushing around and getting things done. It looks trendy and professional with its rounded shape. And the pattern of the granny squares adds a little fun.
The Granny Square Bag is made from a beautiful, soft worsted yarn. The Cascade 220 Yarn is perfect for this project because it's durable and is a pleasure to work with. We decided to use an elegant white and silver-gray which makes it easy to pair with anything!
Granny Square Bag Crochet Pattern
Skill Level: Intermediate
Materials:
• Hook:
– US Size 7 (4.5 mm) crochet hook or size needed to obtain gauge
• Yarn: Worsted weight yarn
– 195 yds white (A)
– 145 yds grey (B)
• Notions:
– Scissors
– Yarn needle
Size:
• Width: 16 inches
• Height: 13 inches
Gauge:
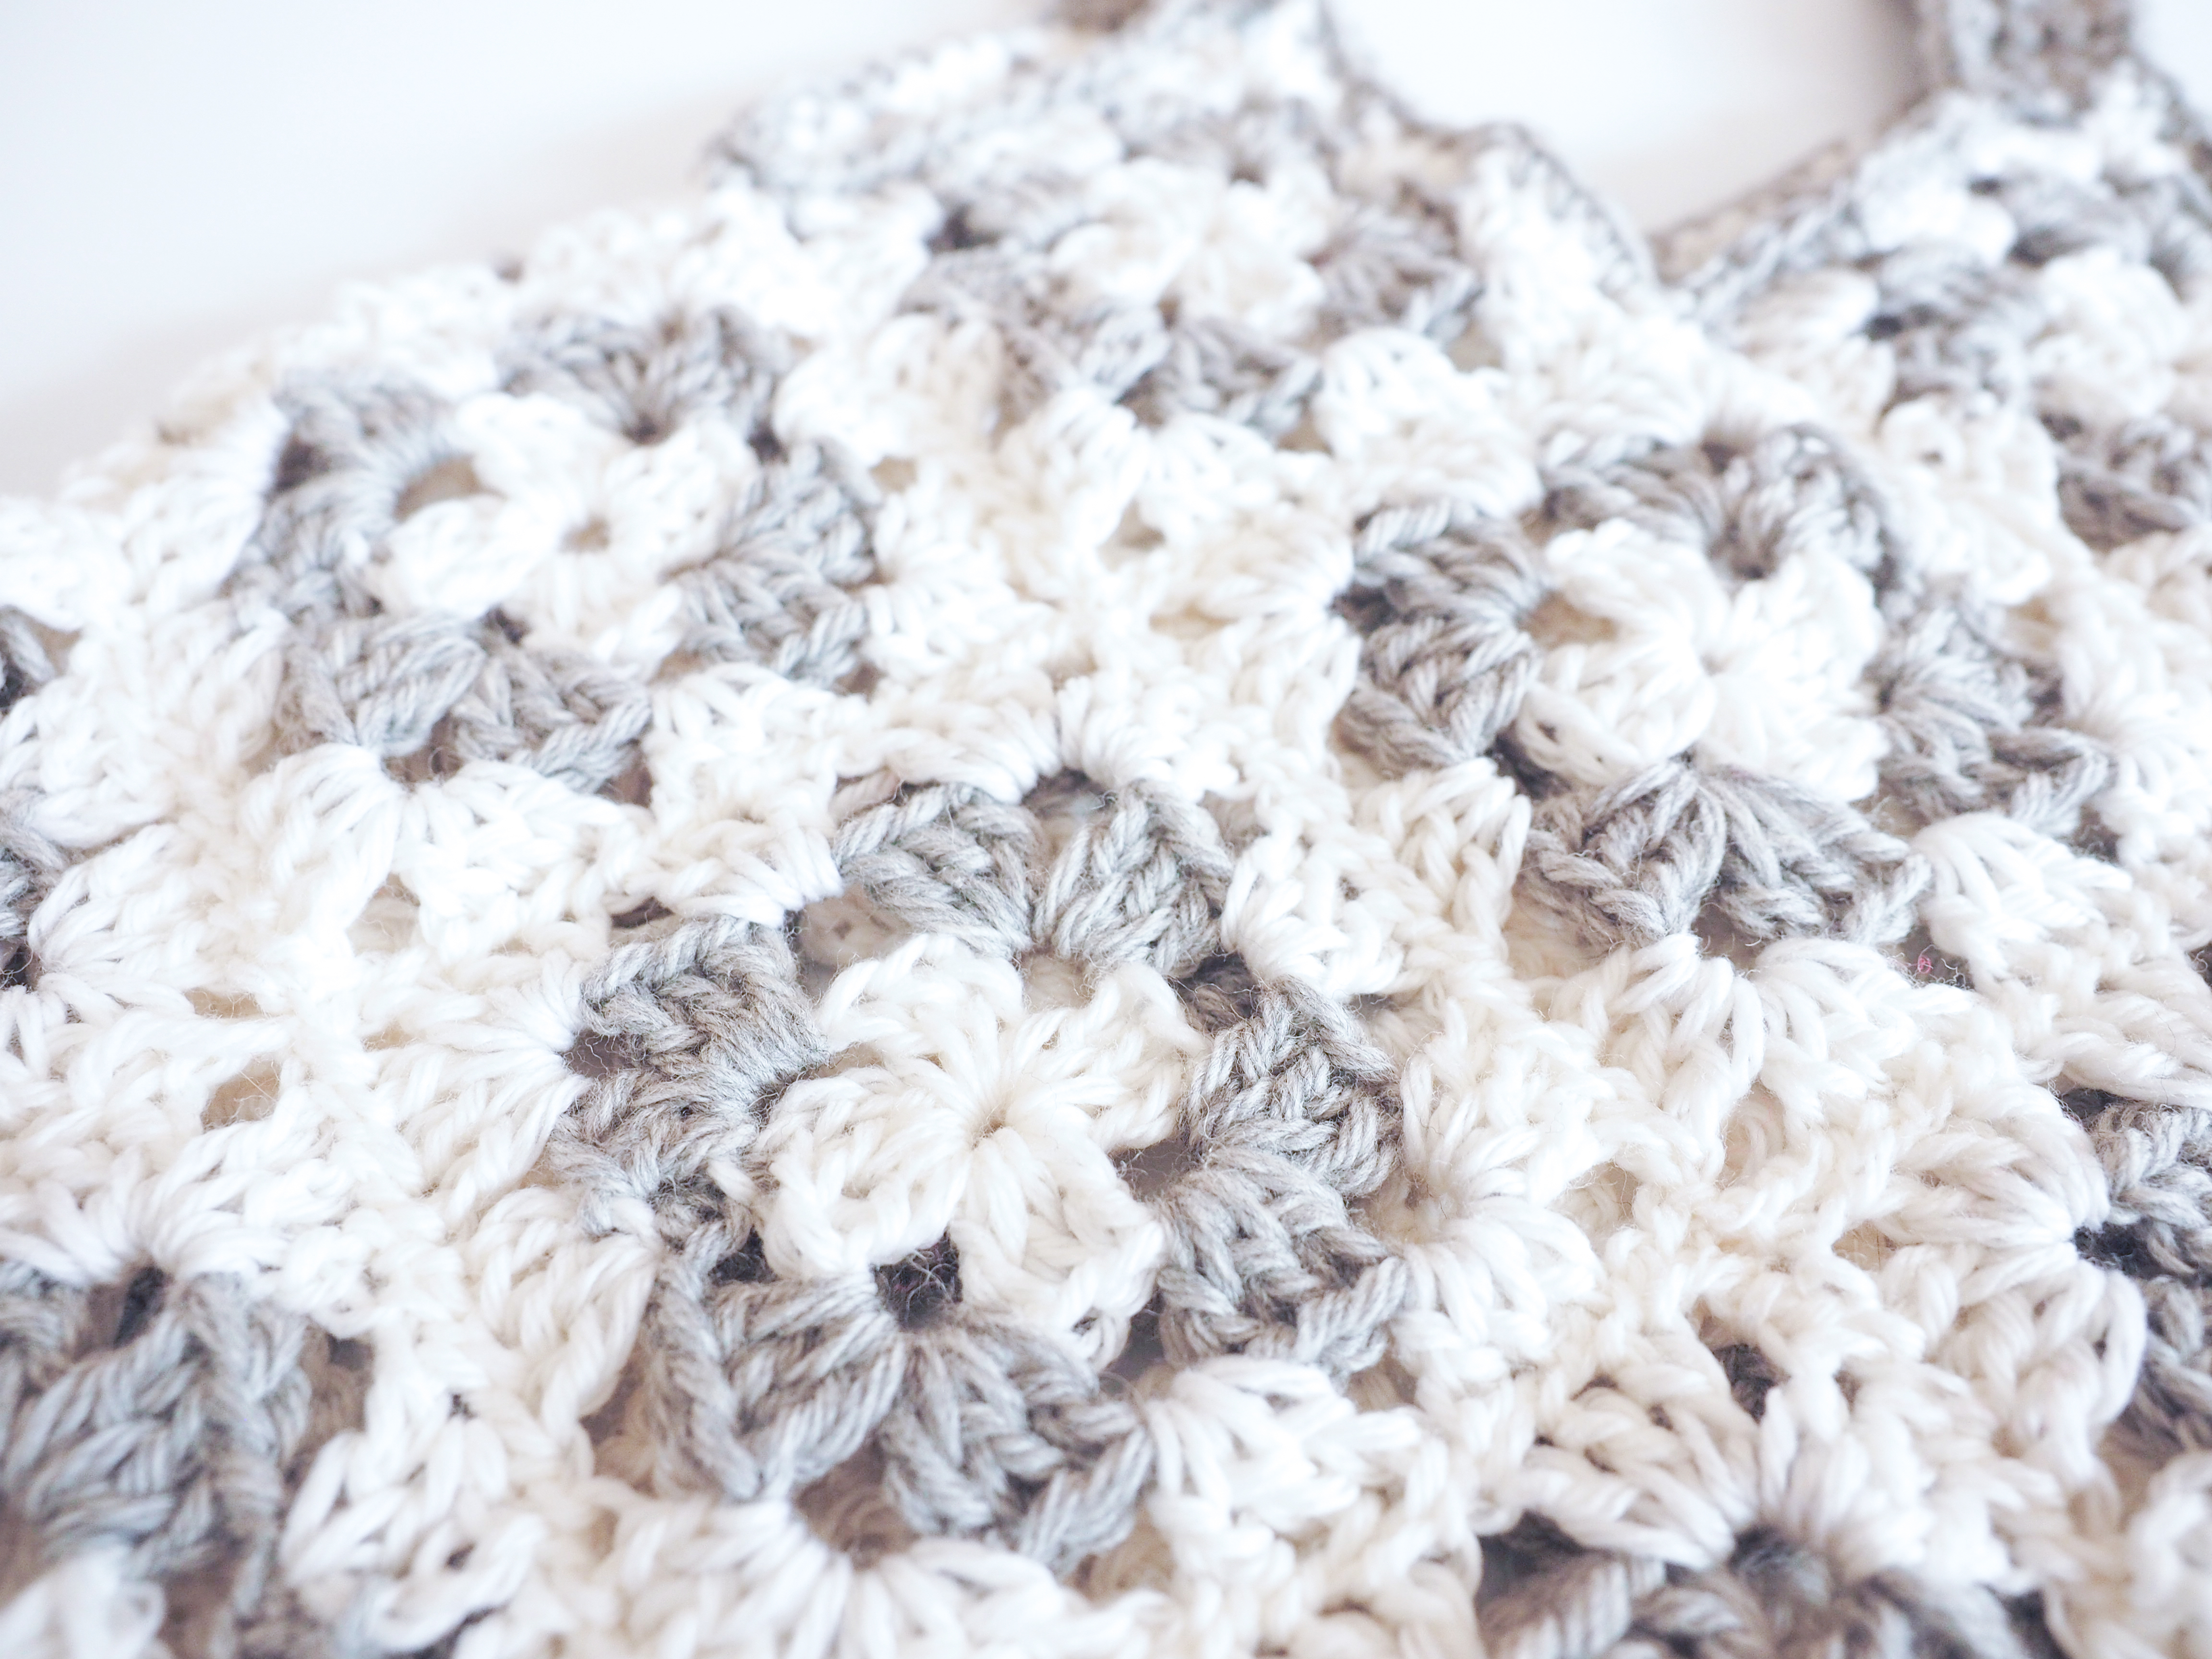
• 14 dc x 6 rnds = 4 inches
• Use pattern as gauge swatch – each granny square is 4 inches square
| ABBREVIATIONS | DESCRIPTION |
|---|---|
| ch | Chain |
| dc | Double crochet |
| rnd | Round |
| RS | Right side(s) |
| sc | Single crochet |
| sk | Skip |
| sl st | Slip stitch |
| st(s) | Stitch(es) |
*If you enjoy learning about different crochet stitches, please take a look at the Ultimate Stitch Library here.

The pattern: Get the ad-free, printable PDF here.
Join rounds where indicated with a sl st in the first st of the rnd.
GRANNY SQUARE (MAKE 24):
With A, ch 5, join with a sl st to first ch to form a ring.
Rnd 1 (RS): Ch 3 (counts as dc throughout), 2 dc in ring, ch 3, [3 dc in ring, ch 3] 3 times, join. (12 dc, 4 ch-3 sps).
Change to B. Do not cut A, instead carry it up in the last dc of rnd 2 so you can use again in rnd 3.
Rnd 2: Ch 4 (counts as dc and ch 1), [sk next 3 sts, (3 dc, ch 3, 3 dc) in next ch-3 sp, ch 1] 3 times, sk next 3 sts, (3 dc, ch 3, 2 dc) in last ch-3 sp, join, sl st in first ch-1 sp. (24 dc, 4 ch-1 sps, 4 ch-3 sps)
Change to A. Fasten off B.
Rnd 3: Ch 3, 2 dc in first ch-1 sp, ch 1, sk next 3 dc, (3 dc, ch 3, 3 dc) in next ch-3 sp, ch 1, sk next 3 dc, [3 dc in next ch-1 sp, ch 1, sk next 3 dc, (3 dc, ch 3, 3 dc) in next ch-3 sp, ch 1, sk next 3 dc] 3 times, join. (36 dc, 8 ch-1 sps, 4 ch-3 sps)
Fasten off. Weave in all ends.

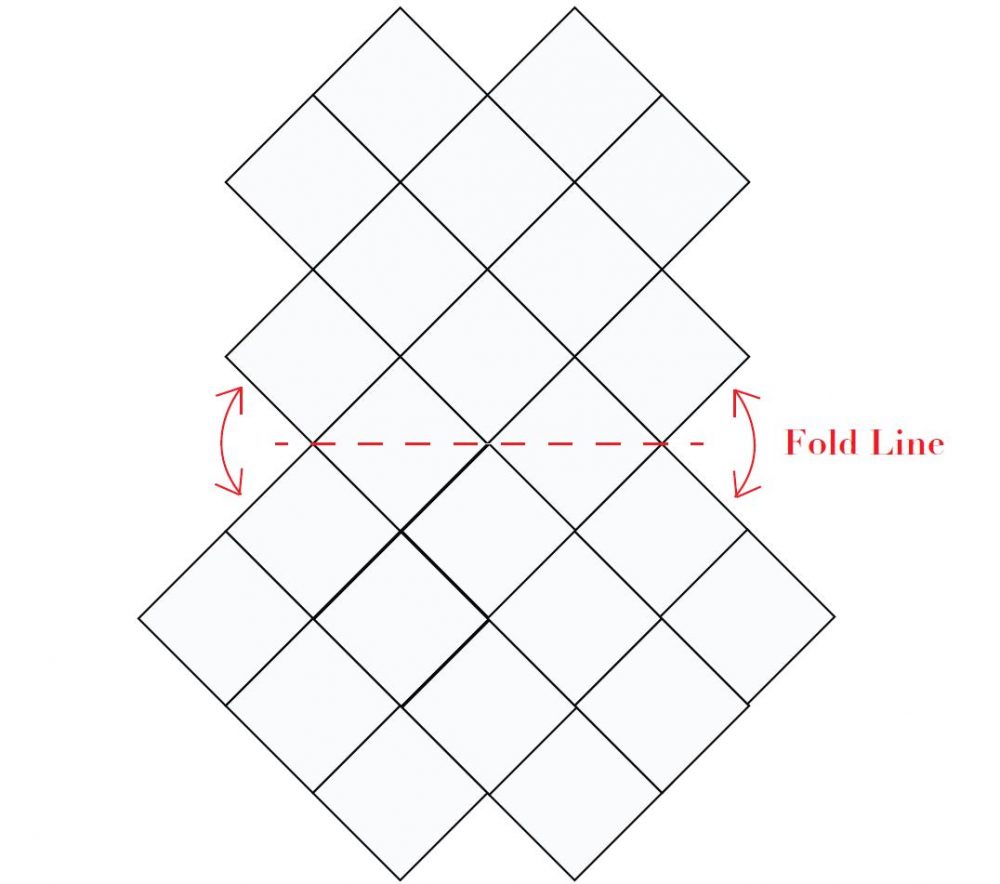
ASSEMBLY:
Arrange the granny squares as shown in the assembly diagram.
Holding squares with RS together, whipstitch the squares together wherever their edges meet.
Fold the bag on the fold line as shown in the diagram, with RS together. There will be 2 extra squares sticking out, one on each side, that don’t match up directly with another square. Fold each of these squares in half along the diagonal, and seam to the adjacent squares on the opposite side to create the sides of the bag.
Turn bag right side out.
HANDLES
First Handle:
Join B with sl st in one of the 4 ch-3 sps at the top of the bag.
Row 1: 3 sc in ch-3 sp. (3 sc)
Rows 2-55: Ch 1, turn, sc in each st across.
Fasten off, leaving a long tail for sewing.
Being careful not to twist handle, sew the end of the handle to the adjacent ch-3 sp on the same side (front or back) of the bag.
Second Handle:
Turn bag over.
Join B with sl st in one of the remaining 2 ch-3 sps at the top of the bag.
Repeat rows 1-55 of first handle.
Fasten off, leaving a long tail for sewing.
Being careful not to twist handle, sew the end of the handle to the remaining ch-3 sp.
Weave in all ends.
EDGING
Outer handle edging:
Join B with sl st in side of any row around outer edge of either handle.
Ch 1, sc in side of each row across outer edge of handles and in each st and ch-sp around top of bag, join.
Fasten off.
Inner handle edgings:
Join B in with sl st in side of any row around inside edge of either handle.
Ch 1, sc in side of each row across inner edge of handle and in each st and ch-sp around top of bag, join.
Fasten off.
Repeat instructions for the other handle.
Weave in all ends.
You are certain to have so much fun making this crochet project bag. The Granny Square Bag is modern with a vintage touch, and the shape really sets it apart. Add this classy, unique bag to your closet today. You’ll have a reason to get excited about those errands you have to run.
For more great crochet patterns, visit these other patterns on my blog:
- Market Tote Bag Crochet Pattern
- Winter Shawl Crochet Pattern
- Bijou Backpack Crochet Pattern
- 30 Easy-to-Follow Crochet Tote Bag Patterns